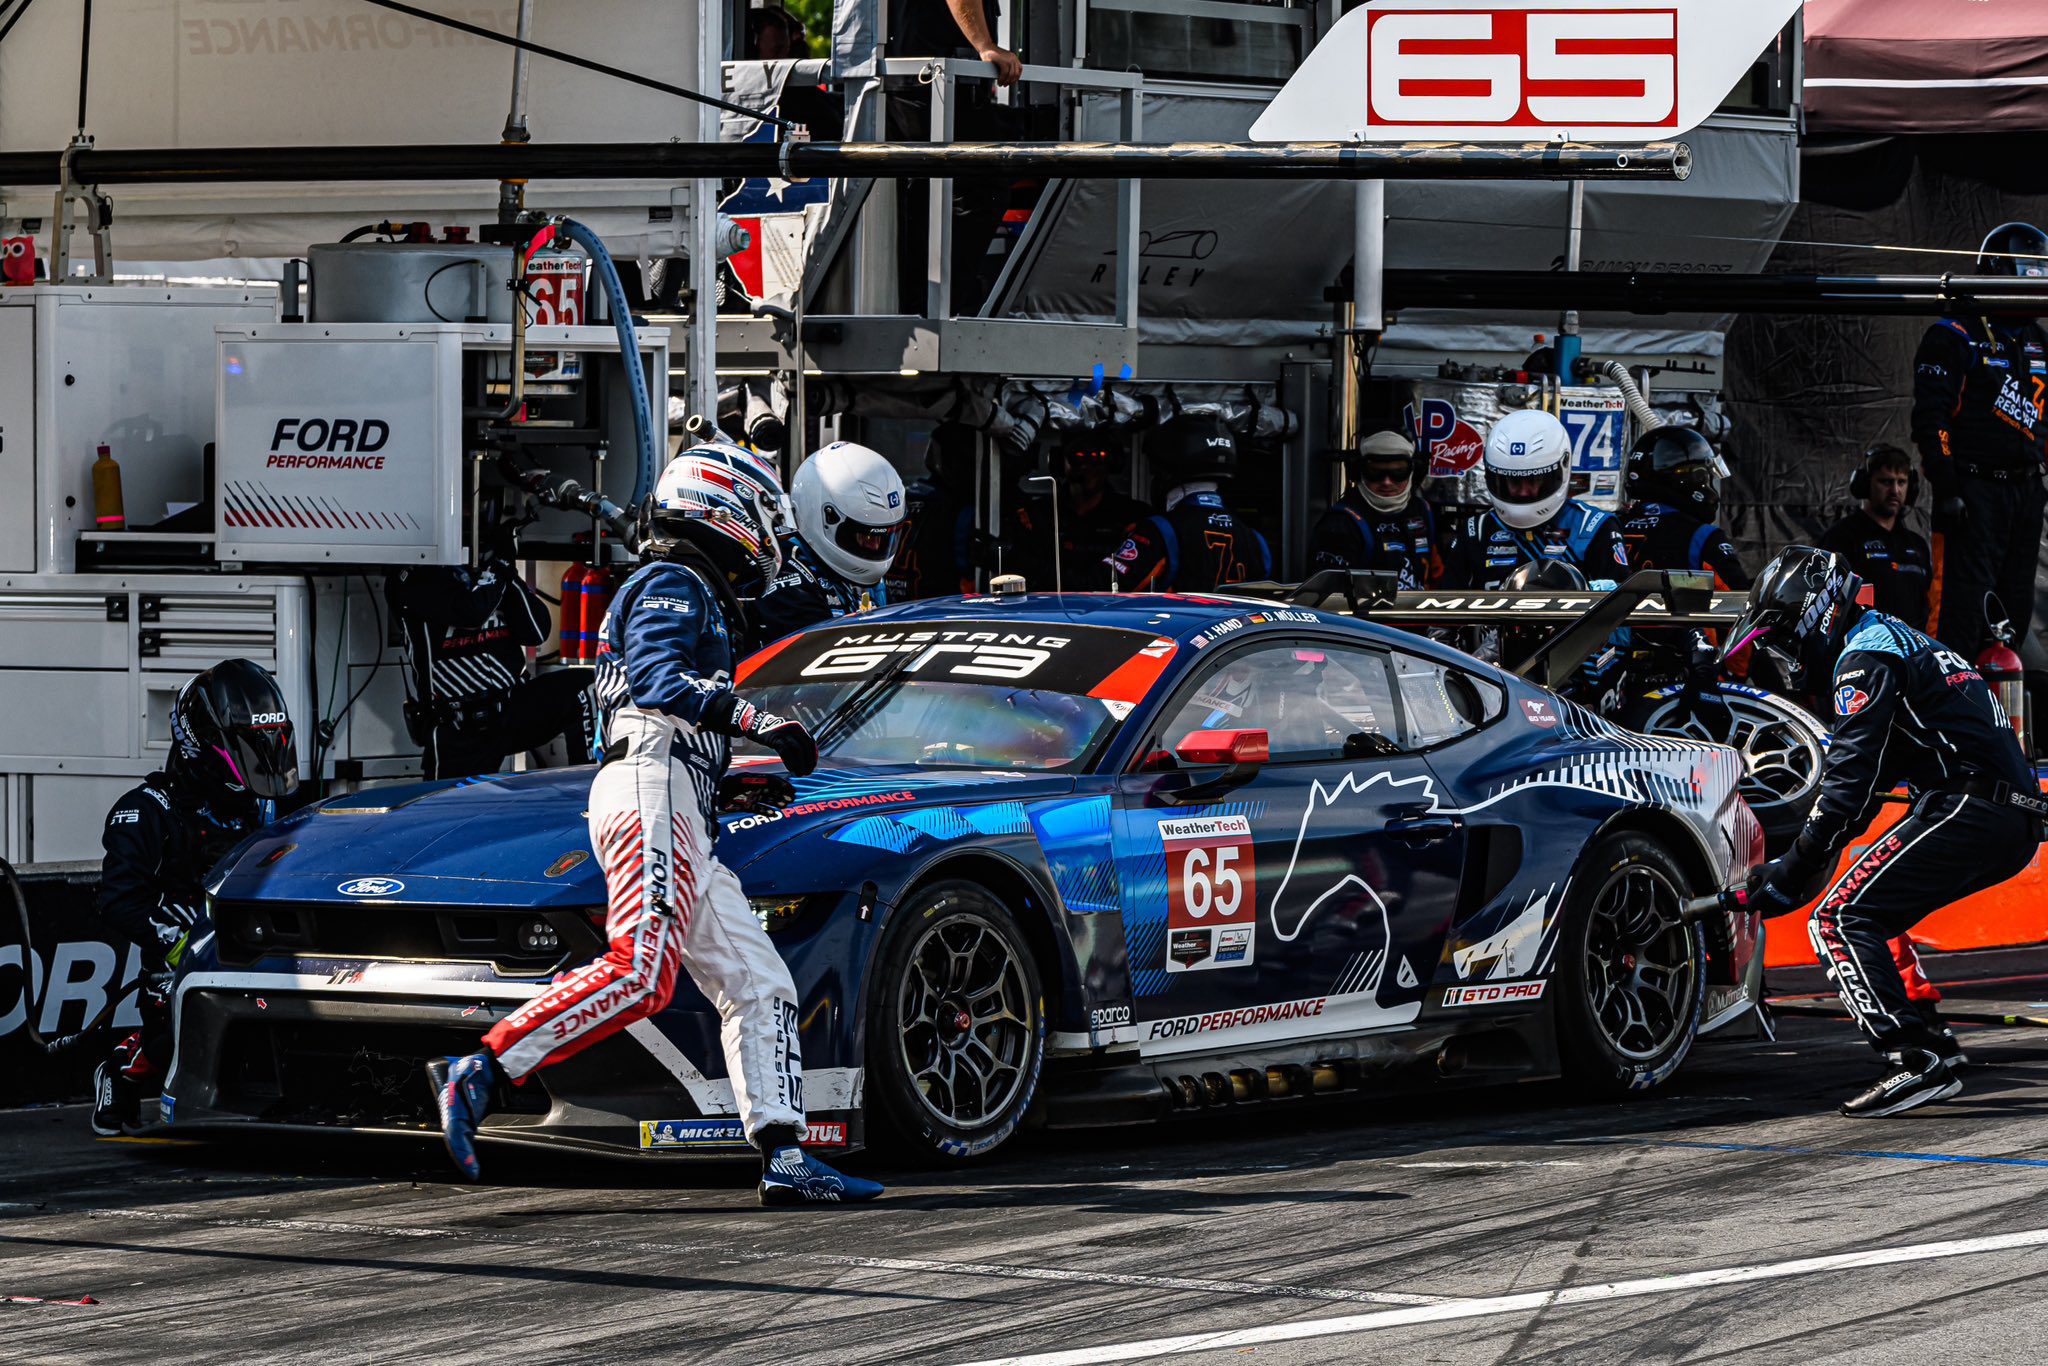
A comprehensive guide for setting up your car and understanding setup concepts.
The objective is to give you a practical understanding of how each element influences handling, so you can make
adjustments that match your driving style and the track’s conditions.
1. Tyres
Tyres are the only contact point between the car and the track. Getting them in the right operating window
(temperature, pressure, slip, and wear) is essential for grip and consistency.
1.1 Tyre Compounds
-
Soft Compounds
- Warm up quickly and provide high initial grip.
- Tend to overheat if pushed too hard or in high track temperatures.
- May wear out faster on abrasive tracks or in longer races.
-
Medium/Hard Compounds
- More durable, with slower wear rates.
- Take longer to heat up and provide peak grip.
- Ideal for longer stints or hotter conditions.
-
Rain/Wet Tyres (if applicable in your sim)
- Designed for wet conditions with treads that disperse water.
- Overheat and degrade rapidly on a drying or dry track.
1.2 Tyre Pressures
-
Optimal Pressure Range: Each sim typically has a recommended range. Too low can cause excessive flex
and heat, too high can reduce contact patch and overheat the center of the tread.
-
Effects on Handling
-
Lower pressure: More grip initially, but can cause increased heat buildup and wear. The car may feel
softer and slightly vague.
-
Higher pressure: More stability at high speeds, but less overall grip and possible temperature
concentration in the tire’s center.
1.3 Tyre Temperatures
-
Ideal Temperature Window: Varies depending on compound and simulator. Look for an even spread
across the tyre (inner, middle, outer).
-
Monitoring:
-
Temperature Spread: Even temperatures indicate a proper alignment and pressure setup.
-
Excessive Heat: Inner-edge overheating may indicate too much camber; outer-edge overheating can mean
insufficient camber or overly aggressive cornering.
-
Surface vs. Core Temperature: Sudden spikes in surface temp can mean lockups or slides, while core temps
reflect consistent operating conditions.
1.4 Slip Ratio & Slip Angle
-
Slip Ratio: Relates to acceleration and braking. High slip ratios indicate wheelspin or lockup,
which reduce grip and can overheat/flat-spot tyres.
-
Slip Angle: The angle between the tyre’s travel direction and the direction it’s pointed. Optimal
slip angle is small; excessive slip angle causes drifting or understeer/oversteer.
2. Aerodynamics
Aerodynamics control how much downforce (grip) and drag you have. Typical adjustments include front/rear wings and, in
some cars, underbody or diffuser settings.
2.1 Downforce vs. Drag
-
High Downforce Setup
- Increased grip in corners.
- More stable and predictable handling.
- Higher drag reduces top speed.
-
Low Downforce Setup
- Better top speed on straights.
- Car feels more nervous in high-speed corners.
- Reduced downforce can result in understeer or oversteer if not balanced well.
2.2 Balancing Front and Rear Wings
-
More Front Wing
- Increases front-end grip, reduces understeer.
- Risk of oversteer if rear wing or mechanical grip isn’t balanced.
-
More Rear Wing
- Increases rear-end stability, especially in high-speed corners.
- Can induce understeer if front grip is insufficient.
2.3 Ride Height and Rake
- Lower Ride Height: Typically increases downforce and aerodynamic
efficiency but can cause bottoming out.
- Rake: Refers to front vs. rear ride height difference. A higher
rake can increase front downforce but can also affect straight-line speed if overdone.
3. Suspension
The suspension determines how the car handles bumps, elevation changes, and weight transfer.
3.1 Springs
-
Stiffer Springs
- Less body roll, beneficial for aero performance.
- Can make the car skittish on bumpy tracks, reducing grip.
-
Softer Springs
- Better mechanical grip over bumps.
- Increased body roll can reduce responsiveness in fast transitions.
3.2 Dampers (Shock Absorbers)
Dampers control the rate at which the suspension compresses and rebounds. Common adjustments include:
- Bump (Compression): Resists the wheel moving upwards.
- Rebound (Extension): Resists the wheel extending back down.
Effects on Handling:
-
High Bump: Reduces quick suspension travel, stabilizes weight transfer, may decrease grip over bumps.
-
Low Bump: The wheel moves more freely over bumps but can lead to excessive body movement.
-
High Rebound: Slows suspension extension, stabilizes exits, but can lose contact on undulations.
-
Low Rebound: Quick extension helps maintain contact over bumps but can feel floaty.
4. Anti-Roll Bars (ARB)
Anti-roll bars link the left and right suspension and control body roll in cornering. Each axle’s ARB has a specific
effect.
4.1 Front ARB
-
Stiffer Front ARB
- Reduces body roll at the front, improving turn-in response.
- If overly stiff, can cause understeer and reduce grip on bumpy tracks.
-
Softer Front ARB
- Allows more front grip over uneven surfaces.
- Can increase body roll and reduce sharp turn-in feel.
4.2 Rear ARB
-
Stiffer Rear ARB
- Improves rotation, reducing understeer.
- Risk of oversteer if too stiff.
-
Softer Rear ARB
- Improves traction on corner exit, particularly on bumpy surfaces.
- Can introduce understeer if the front ARB is considerably stiffer.
5. Differential (Diff) Settings
If adjustable, diff settings affect corner entry and exit behavior. The key parameters are power ramp,
coast ramp, and preload.
-
Power Ramp (acceleration):
- Higher lock reduces wheelspin but can induce understeer on corner exit.
- Lower lock improves rotation but can cause wheelspin if you’re aggressive on the throttle.
-
Coast Ramp (braking/off-throttle):
- Higher lock can stabilize the car under braking but may introduce understeer on entry.
- Lower lock increases rotation but can make the rear end unstable under heavy braking.
-
Preload:
- Higher preload means more lock in neutral throttle, giving stability but less rotation.
- Lower preload allows more free rotation, improving turn-in but risking snap oversteer.
6. Brake Balance & Pressure
6.1 Brake Balance (Bias)
-
Forward Bias
- Stable under braking, less rear lockup risk.
- Can induce understeer and prolong braking distances.
-
Rearward Bias
- Helps rotate the car into corners with trail braking.
- Increases risk of rear lockup if too far back.
6.2 Brake Pressure
-
High Pressure: Maximizes stopping power, but can lead to lockups if not carefully modulated.
-
Low Pressure: More forgiving and easier to modulate, but can extend braking distances.
7. Gearing
Adjusting gear ratios (if the sim or car allows) is crucial for both acceleration and top speed.
-
Short Gearing
- Better acceleration out of corners.
- Can hit the rev limiter on longer straights.
- Ideal for tight tracks with few high-speed sections.
-
Long Gearing
- Higher top speed on straights.
- Slower acceleration from lower speeds.
- Useful for tracks with extended high-speed sections.
Final Drive Ratio: Affects overall gearing. Lowering the final drive ratio (numerically higher) gives
higher top speed but weaker acceleration. Raising it (numerically lower) does the opposite.
8. General Setup Approach & Tips
-
Start with Tyres
- Set pressures to recommended or slightly below recommended.
- Aim for the correct temperature range with an even spread.
-
Fine-Tune Aerodynamics
- Choose overall downforce based on track layout.
- Balance front and rear wings to avoid excessive understeer/oversteer.
-
Tweak Suspension
- Adjust spring rates to match aero choices and track roughness.
- Refine dampers to control weight transfer and handle bumps.
-
Set Anti-Roll Bars
- Fine-tune mid-corner balance between understeer and oversteer.
- Remember stiffer bars can reduce grip on bumpy surfaces.
-
Adjust Differential
- Reduce power lock or preload if you have understeer under power.
- Increase coast lock or preload if rear is unstable on entry.
- Make small changes, as the diff strongly affects behavior.
-
Optimize Brake Bias
- Move bias rearward if you need more rotation under braking.
- Avoid rear lockup by not going too far.
-
Check Gearing
- Ensure you’re not hitting the rev limiter too early on straights.
- Balance top speed with acceleration out of slow corners.
-
Test, Adjust, Repeat
- Make one or two changes at a time, then test thoroughly.
- Monitor lap times, consistency, and tyre temps.
- Develop a personal setup philosophy over time.
9. Closing Thoughts
Car setups in sim racing combine science, experience, and driver preference. Even small changes can make a big
difference in handling. Always approach setup adjustments methodically:
- Identify the main issue (understeer, oversteer, instability, etc.).
- Make targeted, incremental changes.
- Test thoroughly in practice to confirm the effects.
Although each simulator (rFactor 2, iRacing, Assetto Corsa, etc.)
has its own physics nuances, these fundamental concepts remain consistent. Observe how your car responds, and over
time you’ll learn to quickly identify what needs adjusting. Good luck, and enjoy the process of honing the perfect
setup!

